
How To Paint A Kitchen - Learn Steps to Paint a Kitchen Like a Pro
You may wonder how to paint a kitchen when it often appears cluttered and complex in comparison to other rooms in the house. On the contrary, kitchens are easier to plan for and paint because the expanse of walls are lesser and the space is more occupied by cabinetry and appliances. Usually when one begins painting the kitchen, it is best to start from the top with the ceiling and move downwards to the cabinets and then the walls. Another way to look at it is to paint your ceiling and walls before installing your cabinets, if you’re welcoming a brand new kitchen.
Either way, before jumping into the painting journey, it is best to understand the process, plan and then execute it. To put you at ease, we are here with a step-by-step guide on how to paint a kitchen like a pro.
- Plan and Prepare
- Clean the Walls
- Choose Color and Fisnish
- Apply Primar
- Paint Wall and Cabinates
- Clean Up
1. Plan and Prepare
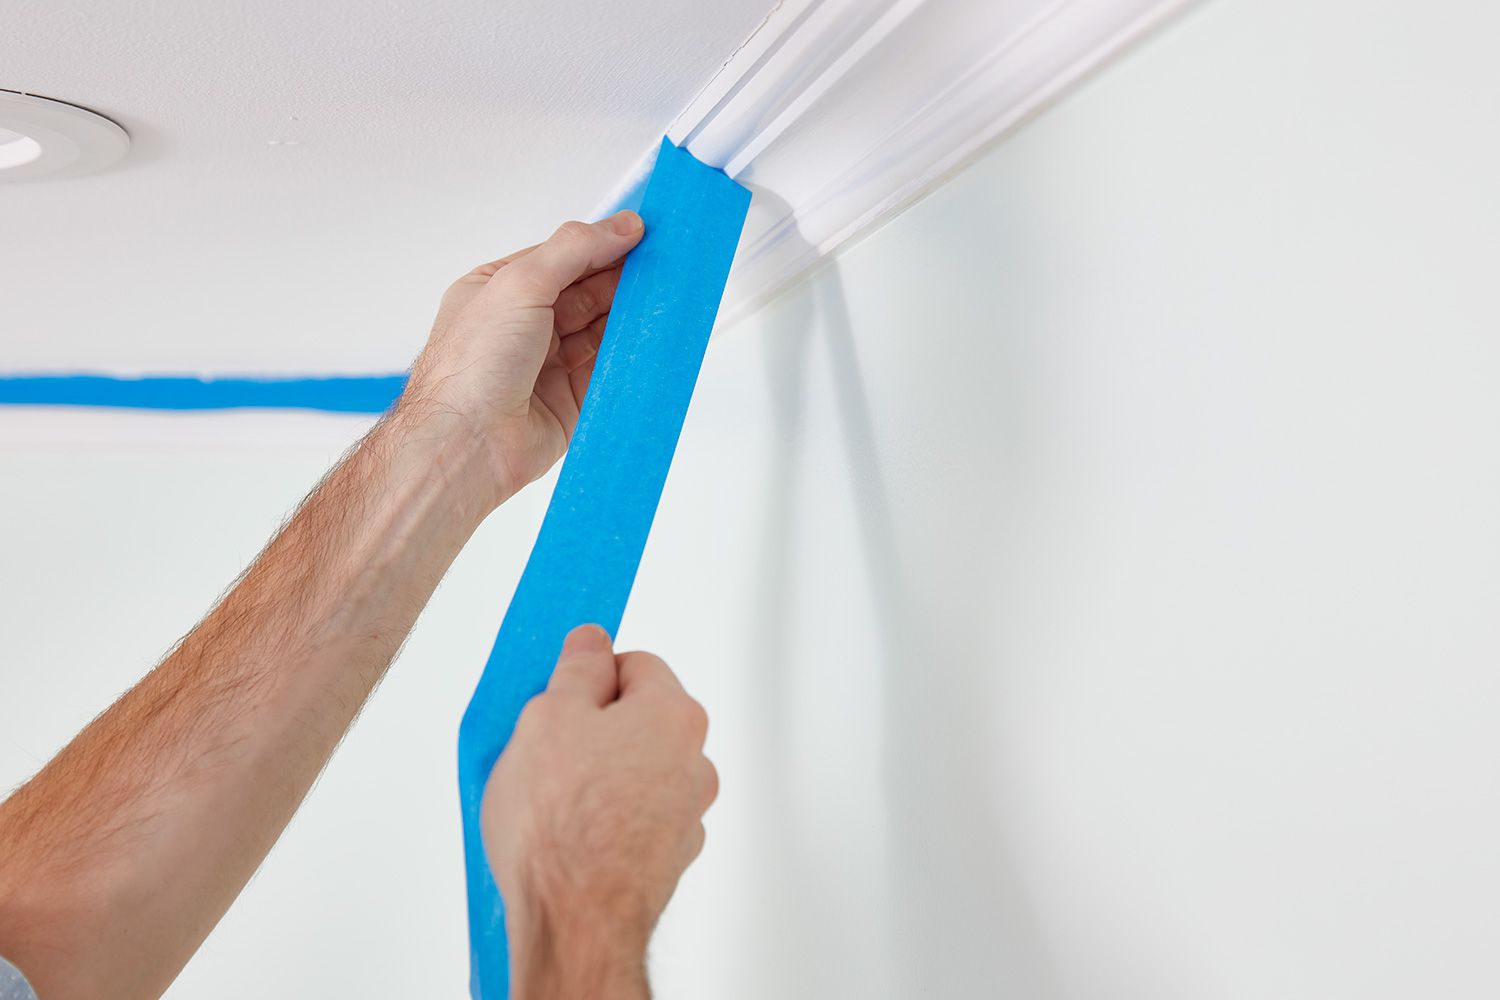
Before you get to any task, it is essential for you to have your dream kitchen in mind and the plan that will bring it to life. So begin with research and reference images and chart out the requirements. Once your plan is in place, you can begin preparing by gathering the tools and supplies. You must also study your kitchen cabinets and kitchen space to understand if there are any wall imperfections, holes and sanding needed. The preparation phase is divided into two sections: Gathering tools and preparing the walls and kitchen for paint. Let us look at the tools required:
- Drop cloths
- Painter’s tape
- Paper or masking tape
- Gloves and sanding paper and sponge
- Trays and gallons
- Brushes and rollers
- Primer, paints and wall finishes
- Cleaning material
2. Clean the Walls
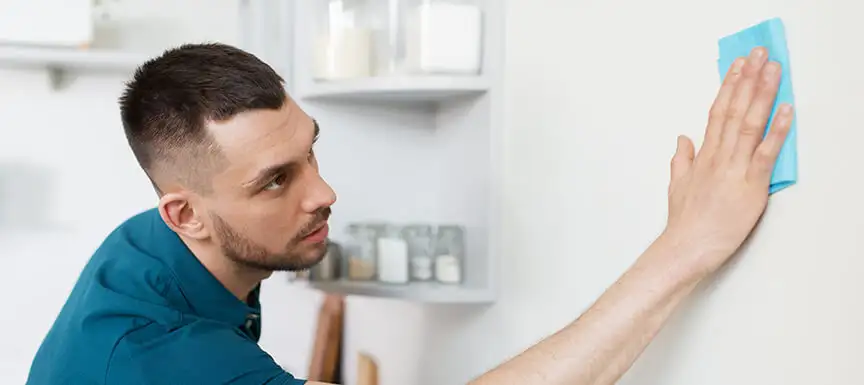
Due to cooking and the kitchen atmosphere, kitchen surfaces, cabinets and walls tend to be moist and greasy. Oil residue might still be there in nooks and crannies. Which is why it is imperative for you to clean walls, work tops and cabinets to ensure a smooth and clean surface for paint. You can clean the walls with a sponge and a degreaser or a strong detergent to clean off the grease and residue. Also, previously mentioned in other articles was the solution of TSP (Trisodium phosphate). Apart from scrubbing walls and cabinets, do remember to vacuum top corners and cabinet insides for cobwebs and settled dust.
Lastly, let your cleaned walls dry off before you get to paint, because painting on wet walls can cause imperfections, bubbles and blisters.
3. Choose Colours and Finish

Whether you want to choose sleek, modern neutrals or colours that reflect the art of cooking, your kitchen visuals are very important. Another important aspect of choosing paints for kitchens are finishes. Since kitchens tend to get messy and greasy, a lot of people opt for lacquer and high glossy finishes. Matte and semi matte finishes are not recommended because these surfaces stain easily and become harder to clean. Satin and semi-gloss finishes are popular choices for kitchen spaces.
Apply primer
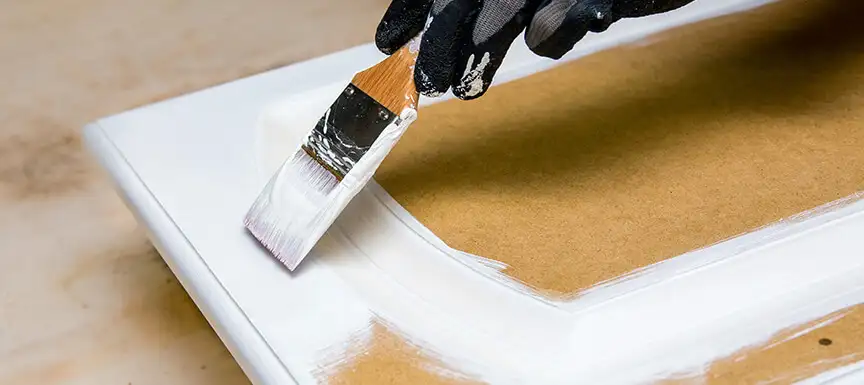
Before priming, we suggest inspecting your walls and cabinets for bumps and holes and sanding it for a smooth and even surface. Usually surfaces that are recently painted and are in good condition do not require primers, But priming is always good for a new coat of paint. Make sure you prime bare wood, other textures, cabinets and drywalls as well. A common tip for all rooms including the kitchen is to use brushes for edges and cutting in and to use rollers for the main walls and larger areas.
5. Paint walls and cabinets: How to paint a kitchen like a pro
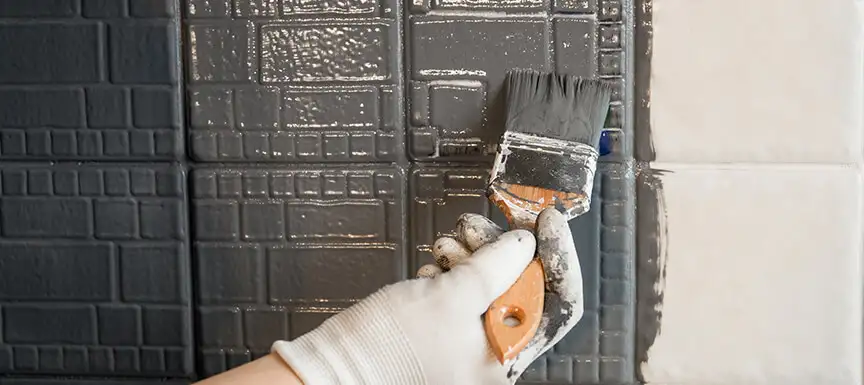
You must have already purchased your paints and finishes for this project. In this stage we begin painting your walls and cabinets. It is always good to begin with ceilings and walls and then move on to cabinets and other surfaces. Keep in mind that you need to use durable and resistant paints on ceilings and walls of a kitchen. When you move on to cabinets, use a surface primer for it based on the texture it has and once dried, paint the doors with brushes since it is a smaller area. While covering larger areas with a roller, paint in a W or M motion in a 4 by 4 feet manner.
6. Clean up
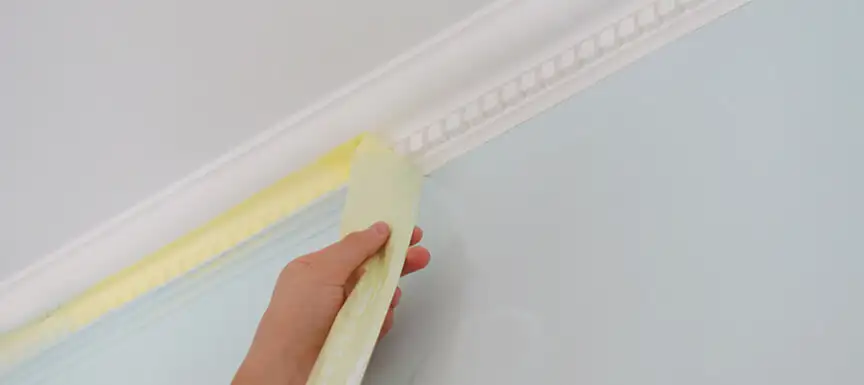
If you want to paint like a pro, do not forget to clean up like a pro too. After letting the walls dry and finishing the last coats of paint, it is important to clean up the kitchen area. Removing the painter’s tape, drop cloths and other masking materials carefully. Clean up excess paint on surfaces with a blade. Vacuum or wipe down the dust and open windows for ventilation and quick drying.
We hope we have turned you into a painting professional with our step-by-step guide on how to paint a kitchen. If you feel you require assistance and cannot do this task single handedly, you can avail our professional painting services for great results and a quick turnaround. Our professionals are trained to prep your walls, achieve the design you want and clean up your space meticulously.

